Tables Guide
How to use tables in the dashboard for adding, importing, exporting, sorting, filtering, searching, and querying data.
Tables in the dashboard are powerful and interactive. Here’s a comprehensive list of what you can do:
Adding Data
- Click the Add New button above any table to open a form and enter new data.
- The form will guide you through the required fields for each type of record.
Importing Data
- Use the Import button to upload data from Excel or CSV files.
- You’ll be prompted to map your file’s columns to the system’s fields.
- Preview your data before confirming the import to avoid mistakes.
Searching
- Use the search box above the table to quickly find records by keyword.
- The search covers all visible columns and updates results as you type.
- Keyboard shortcut: Start typing or press
/to focus the search box instantly.
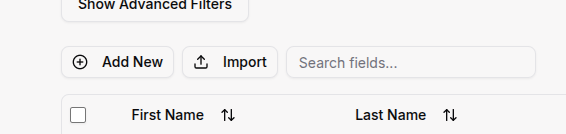
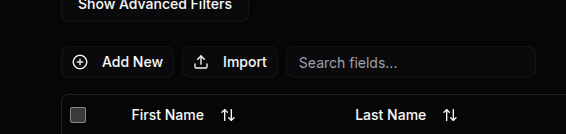
Note: Import buttons (Excel/CSV files and Manual Import) and the search box are located in the top left corner of each table.
Exporting Data
- Click the Export button to download table data as Excel or CSV files.
- Exported files are ready for use in spreadsheet software or for sharing.
Filtering
- Click the Filter button to open a filter dialog.
- Filter by any column, including text, numbers, dates, and status fields.
- For date columns, use the date range picker to filter by a specific period.
- You can reset all filters with the Reset Filters button.
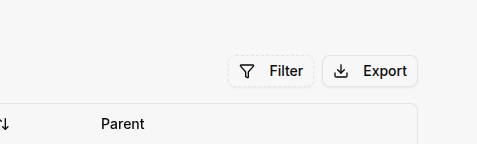
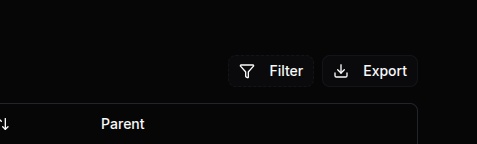
Note: Export and Filter buttons are found in the top right corner of each table.
Sorting
- Click any column header to sort the table by that column (ascending/descending).
- You can sort by multiple columns by holding Shift and clicking additional headers.
Querying Data (Advanced Filtering)
- Click Show Advanced Filters to open the Query Builder.
- Build complex queries using multiple fields and conditions (e.g., “Status is Active AND Created Date after 2024-01-01”).
- Combine filters with AND/OR logic for detailed analysis.
- See how many items match your query in real time.
- Clear all advanced filters with one click.
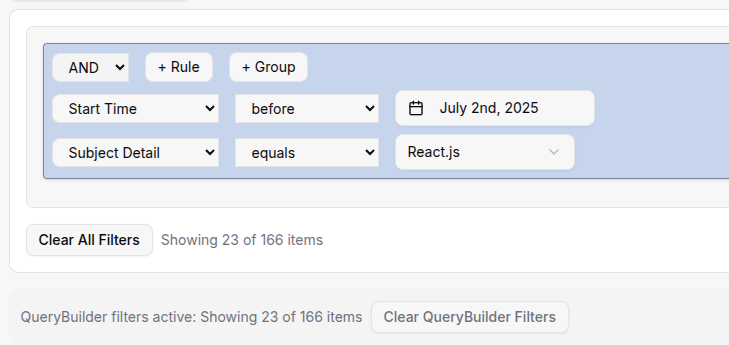
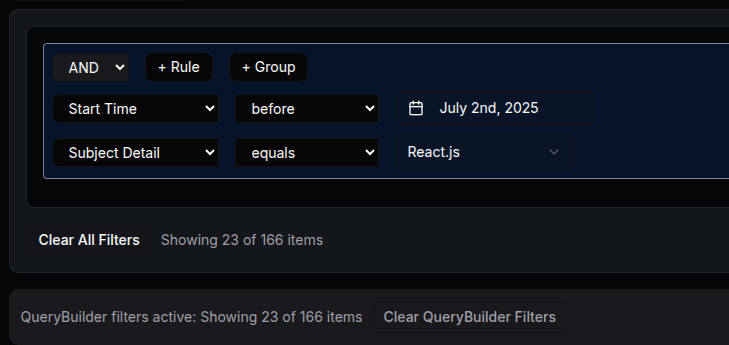
Note: The Query Builder is a powerful tool for advanced data filtering. While it may seem complex at first, it allows you to create sophisticated searches that would be impossible with basic filters. Take your time exploring the options - you can always clear your query and start over.
Row Selection & Bulk Actions
- Select rows by clicking the checkboxes on the left.
- Use the top checkbox to select or deselect all visible rows.
- When rows are selected, you can:
- Delete multiple records at once (if allowed for your role).
- Perform custom bulk actions (e.g., mark as paid, assign to group) if available.
- After a bulk action, the table refreshes automatically.
Pagination
- Tables show a set number of rows per page (e.g., 10, 25, 50, 100).
- Use the pagination controls at the bottom to navigate between pages.
- You can change the number of rows shown per page.


Column Visibility
- Some tables allow you to show or hide columns to customize your view.
- Look for a column visibility or settings button (if available).
Refreshing Data
- Click the Refresh button (circular arrow in the top right corner of the page) to reload the latest data from the server.
Note: Data automatically refreshes periodically, but you can manually refresh anytime to ensure you have the latest information.
Tip: All these features are designed to help you manage, analyze, and export your data efficiently. If you’re ever unsure, hover over buttons for tooltips or check the section’s help or documentation.