Tables Guide
How to use tables in the dashboard for adding, importing, exporting, sorting, filtering, searching, and querying data.
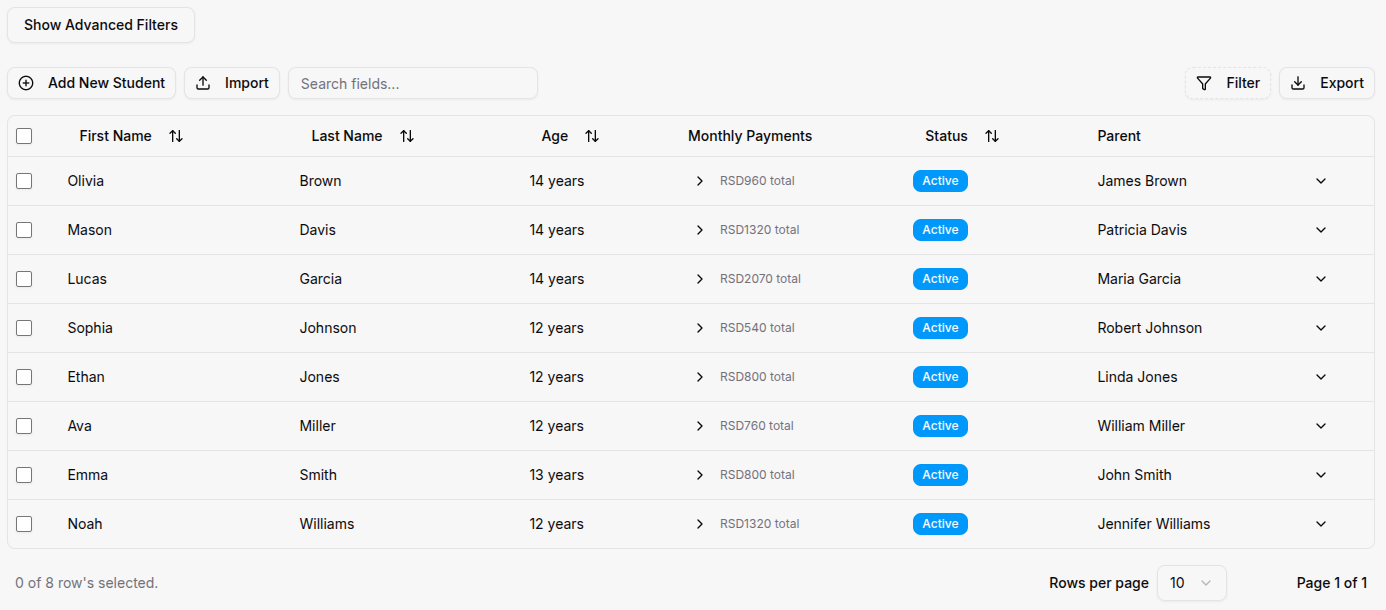
Tables in the dashboard are powerful and interactive tools for managing all types of data. Every table shares the same core features for consistent data management across the platform.
How to Use
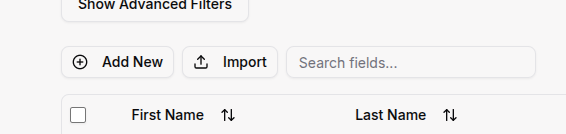
Adding New Records
- Locate the Add New button above the table (top-left corner).
- Click the button to open a form dialog.
- Fill in all required fields marked with asterisks (*).
- Click Save to create the new record.
- The table will automatically refresh with your new entry.
Searching for Records
- Locate the search box at the top-left corner of the table.
- Start typing your search term (or press
/as a keyboard shortcut). - Results filter automatically as you type.
- The search covers all visible columns in the table.
- Clear the search box to view all records again.
Importing Data (Bulk Upload)
- Click the Import button next to the Add New button.
- Choose Excel/CSV Import or Manual Import from the options.
- Download the CSV template provided (for CSV import).
- Fill in the template with your data.
- Upload the completed file.
- Map columns - match your file's columns to system fields.
- Preview your data to check for errors.
- Click Confirm Import to add all records.
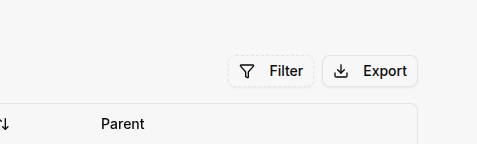
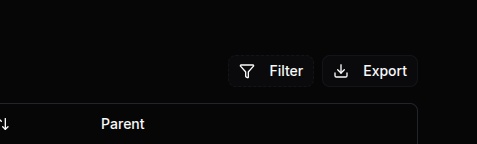
Exporting Data
- Locate the Export button in the top-right corner of the table.
- Click the button to download the current view.
- Choose between Excel or CSV format.
- The exported file includes all visible columns and applied filters.
- Use exported data for reporting, backups, or external analysis.
Filtering Data
- Click the Filter button in the top-right corner (next to Export).
- A filter dialog opens showing all available columns.
- Select the column you want to filter by.
- Choose the filter condition (equals, contains, greater than, etc.).
- Enter the filter value.
- Click Apply to filter the table.
- Use Reset Filters to clear all active filters.
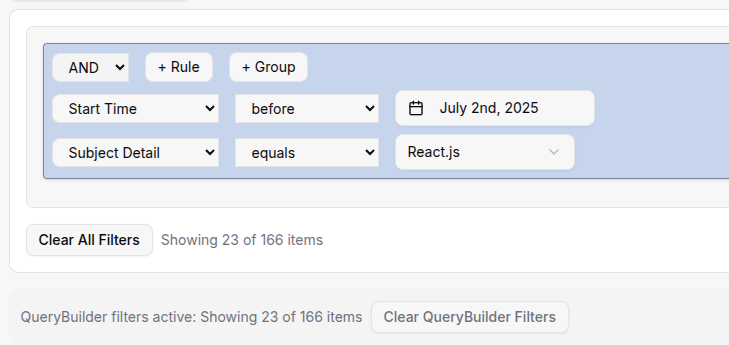
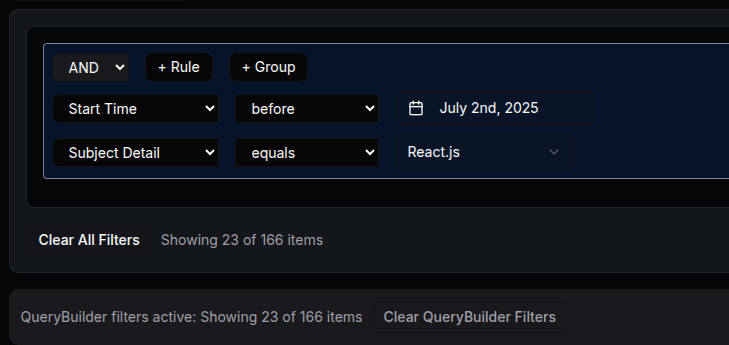
Advanced Filtering (Query Builder)
- Click Show Advanced Filters to open the Query Builder.
- Add multiple filter conditions using the + Add Condition button.
- Combine conditions with AND or OR logic.
- Build complex queries like "Status is Active AND Created Date after 2024-01-01".
- See the match count update in real-time as you build your query.
- Click Apply Query to filter the table.
- Use Clear Query to remove all advanced filters.
Sorting Data
- Click any column header to sort by that column.
- First click sorts ascending (A-Z, 0-9, oldest-newest).
- Second click sorts descending (Z-A, 9-0, newest-oldest).
- Third click removes sorting and returns to default order.
- Hold Shift and click additional headers to sort by multiple columns.
Using Row Selection & Bulk Actions
- Click the checkbox on the left of any row to select it.
- Click the checkbox in the header to select all visible rows.
- After selecting rows, available bulk actions appear:
- Delete - Remove multiple records at once (if permitted)
- Custom actions - Vary by table (e.g., mark as paid, assign to group)
- Click the desired action button.
- Confirm the action when prompted.
- The table refreshes automatically after the action completes.
Working with the Actions Column
- Locate the Actions column on the far right of each table row.
- Click the three-dot or chevron menu (⋮or ⌄) to view available actions for that specific record.
- Common actions include:
- View - Open detailed view of the record
- Edit - Modify the record's information
- Delete - Remove the record (with confirmation)
- Custom actions - Table-specific actions (e.g., "Send Email", "Print Receipt", "Assign to Class")
- Available actions vary by:
- Table type - Different tables have different actions
- User role - Your permissions determine which actions you can perform
- Record status - Some actions only appear for specific statuses
- Click an action to perform it immediately or open a form for additional details.
Changing Pagination
- Locate the pagination controls at the bottom of the table.
- Use Previous/Next buttons to navigate between pages.
- Click page numbers to jump to a specific page.
- Change rows per page using the dropdown (10, 25, 50, 100).
- View the total count of records in the bottom-left corner.


Refreshing Table Data
- Locate the Refresh button (circular arrow icon) in the top-right corner of the page.
- Click to reload the latest data from the server.
- Use this after making changes elsewhere to ensure data is current.
- Tables auto-refresh periodically, but manual refresh ensures immediate updates.
For Organization Types
Bootcamp tables include specialized columns and actions:
- Students table: GitHub username column, "View Portfolio" action
- Challenges table: "Clone Challenge", "View Submissions" actions
- Projects table: "Review Code", "Grade Submission" actions
Sports Academy tables include specialized columns and actions:
- Athletes table: Performance metrics columns, "View Health Records" action
- Training table: "Schedule Session", "Record Performance" actions
- Competitions table: "Enter Results", "Update Rankings" actions
Madrasa tables include specialized columns and actions:
- Students table: Quran progress column, "Track Memorization" action
- Classes table: Prayer time columns, "Mark Attendance" action
- Curriculum table: "Assign Surah", "Track Recitation" actions
Tips
- Use keyboard shortcuts: Press
/to focus the search box instantly from anywhere on the page. - Export filtered data: Apply filters first, then export to get only the data you need.
- The Query Builder may seem complex at first, but it's powerful - take time to explore and you can always clear and start over.
- Bulk actions save time: Use row selection to perform actions on multiple records at once instead of one by one.
- Column sorting persists - your sort preferences remain until you change them or refresh the page.
- Actions vary by role: You'll only see actions you have permission to perform based on your user role.
- Hover over buttons for tooltips if you're unsure what they do.
- Auto-refresh happens periodically in the background, but use manual refresh for critical, time-sensitive data.