Admin Dashboard
Back to HomeFinancial Management
Manage payments, expenses, bank accounts, and financial reporting for your organization.
Financial Management provides comprehensive tools to track all monetary transactions, manage bank accounts, process payments, record expenses, and generate financial reports for your organization.
Important
For detailed instructions on how to create, edit, search, filter, and manage financial records through tables, please refer to the Tables Guide. All financial pages use the same table interface with consistent actions and features.
How to Use
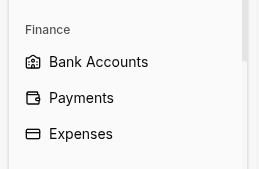
Managing Bank Accounts
- Navigate to Bank Accounts from the sidebar (under Finance).
- Click Add Bank Account to create a new account.
- Fill in the required fields:
- Account Name - Descriptive name (e.g., "Main Operating Account")
- Bank Name - Name of the financial institution
- Account Number - Bank account number
- Currency - Account currency
- Initial Balance - Starting balance (optional)
- Click Save to create the bank account.
- View all accounts with current balances in the Bank Accounts table.
Recording Payments (Revenue)
- Navigate to Payments from the sidebar (under Finance).
- Click Add Payment to record a new payment.
- Fill in the required fields:
- Student - Select the student making the payment
- Amount - Payment amount
- Payment Date - Date payment was received
- Bank Account - Which account received the payment
- Payment Method - Cash, bank transfer, credit card, etc.
- Reference Number (optional) - Receipt or transaction number
- Notes (optional) - Additional details
- Click Save to record the payment.
- The payment appears in the student's payment history and updates financial reports.
Recording Expenses
- Navigate to Expenses from the sidebar (under Finance).
- Click Add Expense to record a new expense.
- Fill in the required fields:
- Title - Brief description of the expense
- Amount - Expense amount
- Date - When the expense occurred
- Category - Expense type (salaries, utilities, supplies, etc.)
- Bank Account - Which account paid the expense
- Payment Method - How it was paid
- Receipt/Invoice (optional) - Upload supporting documents
- Notes (optional) - Additional details
- Click Save to record the expense.
- The expense is deducted from the selected bank account balance.
Managing Expense Categories
- Navigate to Expense Categories from the sidebar (under Finance).
- Click Add Category to create a new expense type.
- Enter the Category Name (e.g., "Staff Salaries", "Office Rent", "Marketing").
- Optionally add a Description for clarity.
- Click Save to create the category.
- Use categories when recording expenses for better financial reporting.
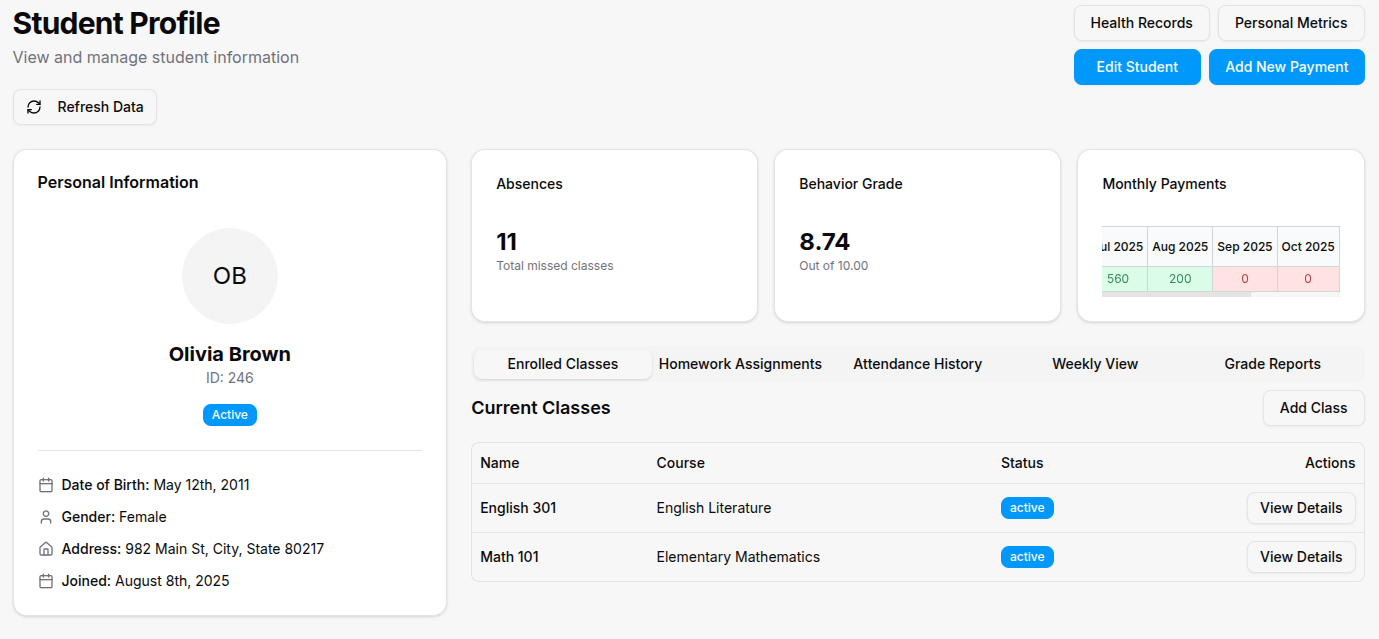
Processing Student Payments
- Navigate to Students from the sidebar (under HR).
- Click on a student to view their profile (or from action menu). See Tables Guide.
- Navigate to the Payments tab within the student profile.
- Click Add Payment to record a payment for this student.
- Follow the payment recording steps outlined above.
- View payment history, outstanding balance, and payment schedule.
Generating Financial Reports
- Navigate to Financial Reports from the sidebar (under Finance or Reports).
- Select the Report Type:
- Income Statement - Revenue vs. expenses over a period
- Balance Sheet - Assets, liabilities, and equity
- Cash Flow - Money in and out by period
- Student Payments - Payment history by student or class
- Expense Summary - Expenses by category and period
- Set the Date Range (month, quarter, year, or custom).
- Apply Filters (by class, category, bank account, etc.).
- Click Generate Report.
- View the report on screen or Export to Excel/PDF.
Tracking Outstanding Balances
- Navigate to Students from the sidebar.
- Use the Filter button to show students with outstanding balances.
- Click on a student to view their detailed payment history.
- Review Amount Owed, Payment Schedule, and Due Dates.
- Record payments as they come in to update the balance.
- Send Payment Reminders through the actions menu (if available).
Bulk Payment Import
- Navigate to Payments from the sidebar.
- Click Import Payments button.
- Download the CSV template.
- Fill in payment data (student ID/name, amount, date, method, etc.).
- Upload the completed file.
- Map columns to match your file with system fields.
- Preview the import to verify data.
- Click Confirm Import to record all payments at once.
Managing Payment Methods
- Navigate to Settings from the sidebar.
- Find the Payment Methods section.
- Enable or disable available payment methods:
- Cash
- Bank Transfer
- Credit/Debit Card
- Online Payment Gateway
- Check
- Configure payment gateway settings if using online payments.
- Click Save to apply changes.
Reconciling Bank Accounts
- Navigate to Bank Accounts from the sidebar.
- Click on a bank account to view details.
- Compare the system balance with your actual bank statement.
- Use filters to view transactions by date range.
- Verify all payments and expenses are recorded correctly.
- Add any missing transactions.
- Mark account as Reconciled for the period.
For Organization Types
Bootcamp-specific financial features:
- Course Payments: Track payments by bootcamp cohort or program
- Enrollment Fees: One-time enrollment charges separate from tuition
- Job Placement Fees: Optional success-based fees upon job placement
- Equipment Fees: Track laptop or software licensing charges
Sports Academy-specific financial features:
- Training Fees: Monthly or seasonal training program fees
- Competition Fees: Entry fees for tournaments and events
- Equipment Purchases: Track sports equipment sales to athletes
- Facility Rental: Revenue from renting facilities to external groups
- Uniform Sales: Track athletic uniform and apparel sales
Madrasa-specific financial features:
- Zakat Tracking: Record and distribute zakat (charitable) funds
- Sadaqah Donations: Track voluntary charitable contributions
- Religious Event Fees: Fees for special Islamic events or programs
- Quran Book Sales: Track sales of religious educational materials
Tips
- Regularly reconcile bank accounts (weekly or monthly) to catch discrepancies early.
- Use expense categories consistently to make financial reports more meaningful.
- Export reports before each board meeting or financial review for accurate records.
- Set up payment reminders to reduce late payments and improve cash flow.
- Record all expenses immediately, even small ones, for accurate financial tracking.
- Use filters to analyze finances by class, program, or time period for better insights.
- Attach receipts to expense records for audit trails and tax compliance.
- Create separate bank accounts for different programs or revenue streams for clearer tracking.
- Review the Financial Dashboard regularly to stay on top of income, expenses, and profitability.